Write a Review Cancel reply

PVA Sponge Mop with 2 Heads
AUD 39.95





AUD 39.95
+ Free Shipping

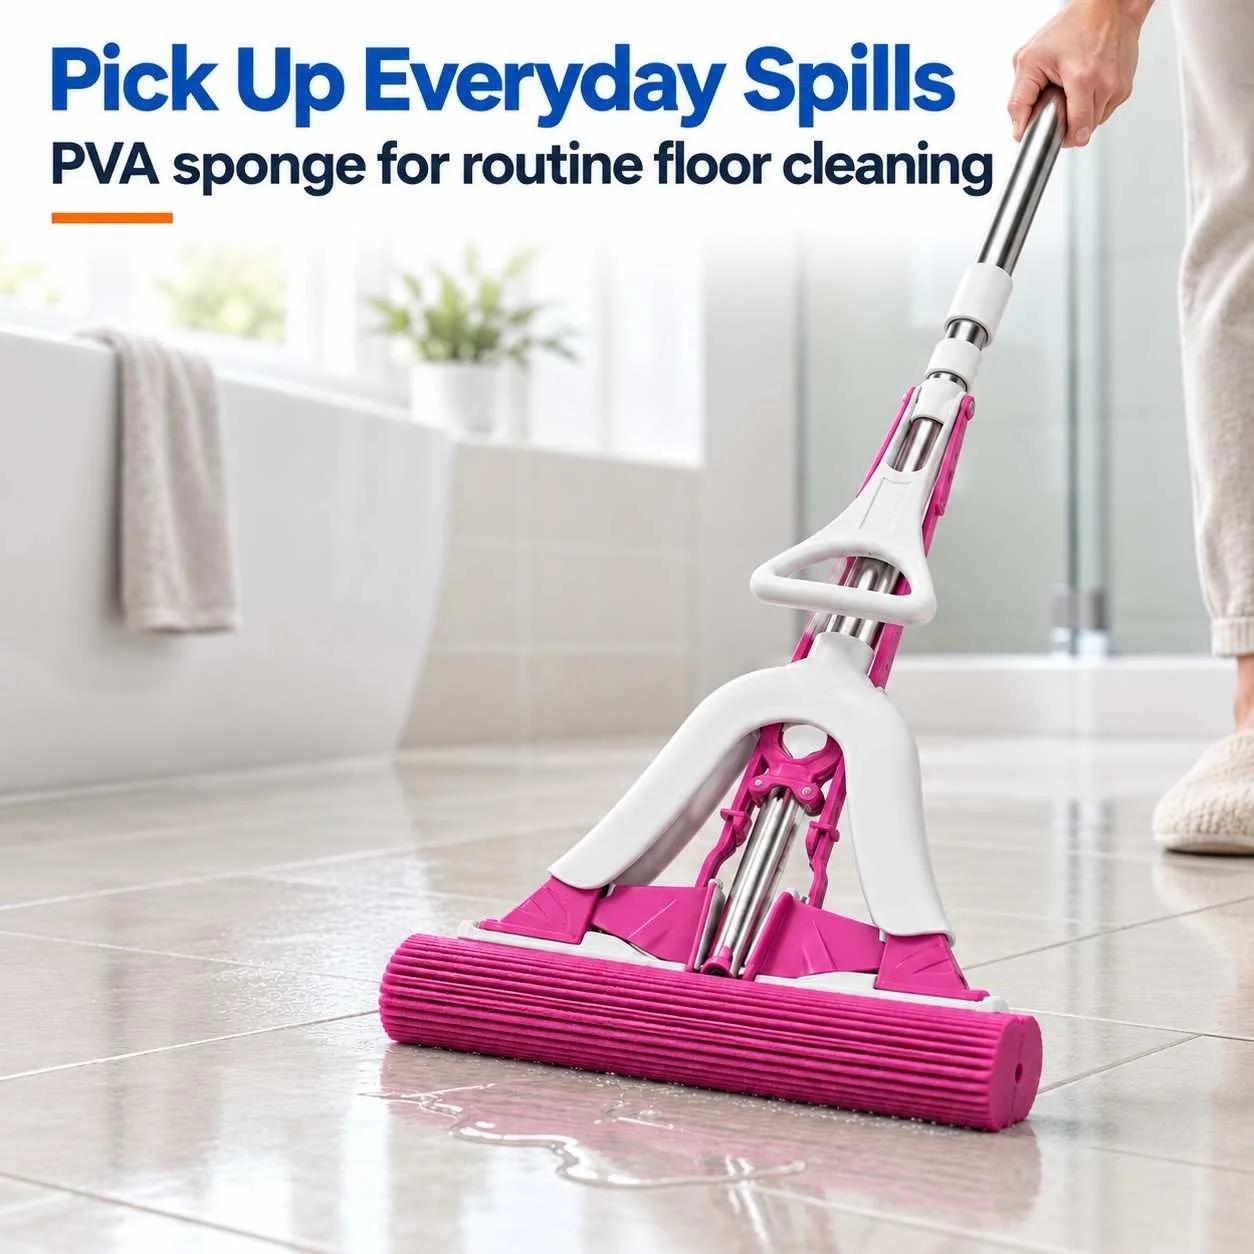
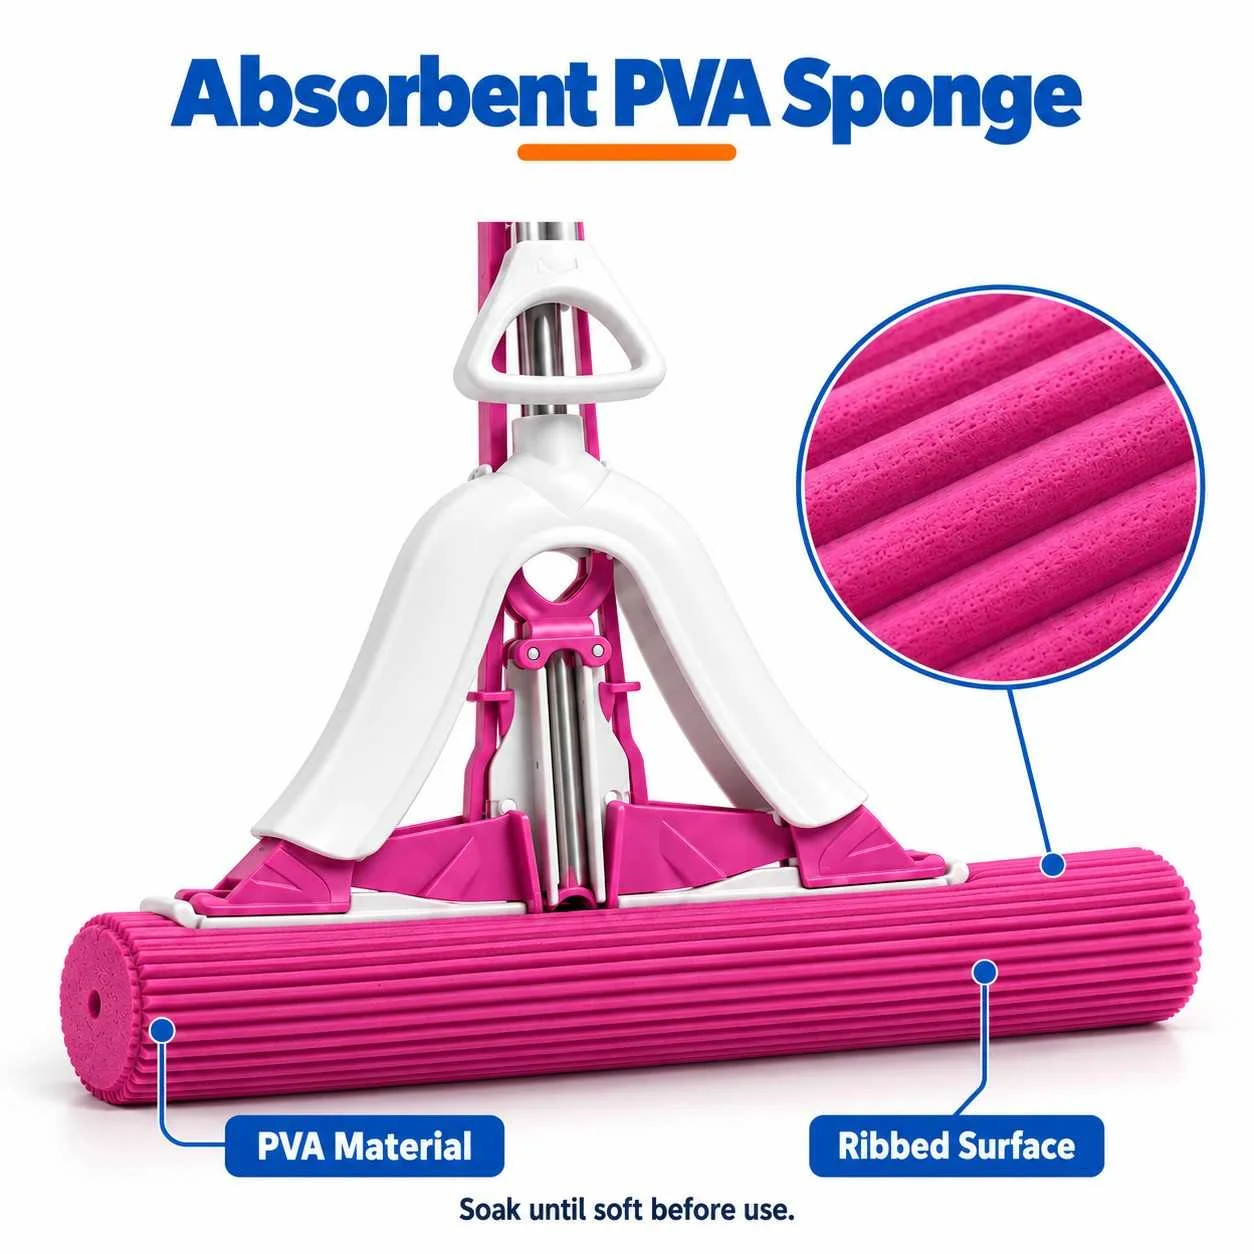
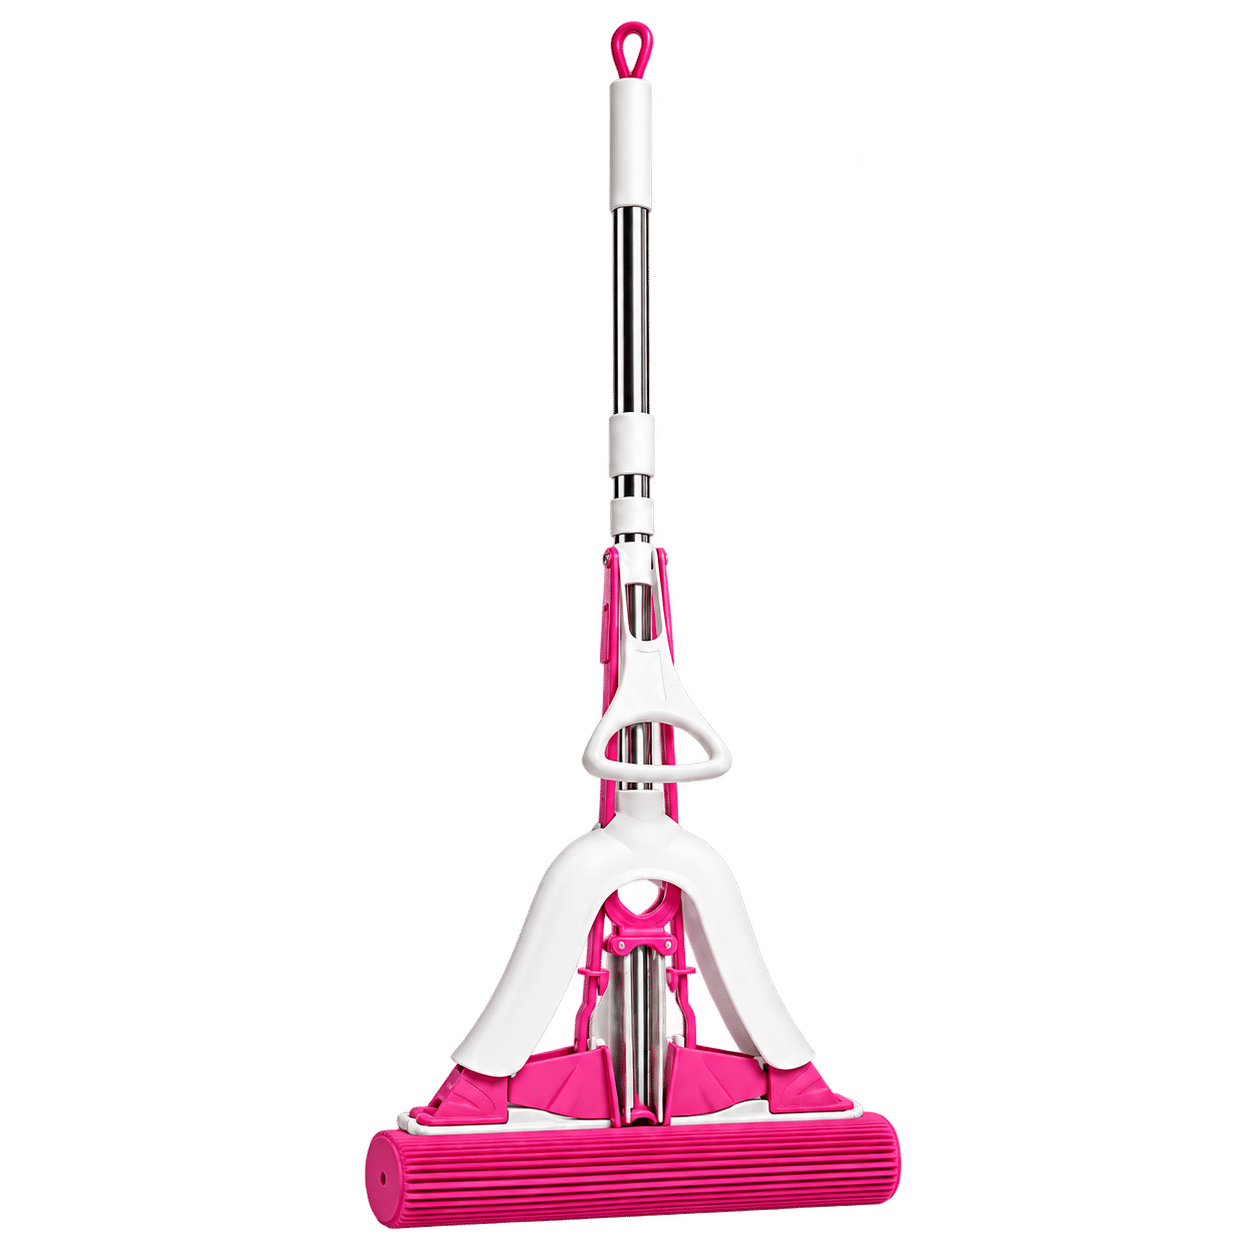
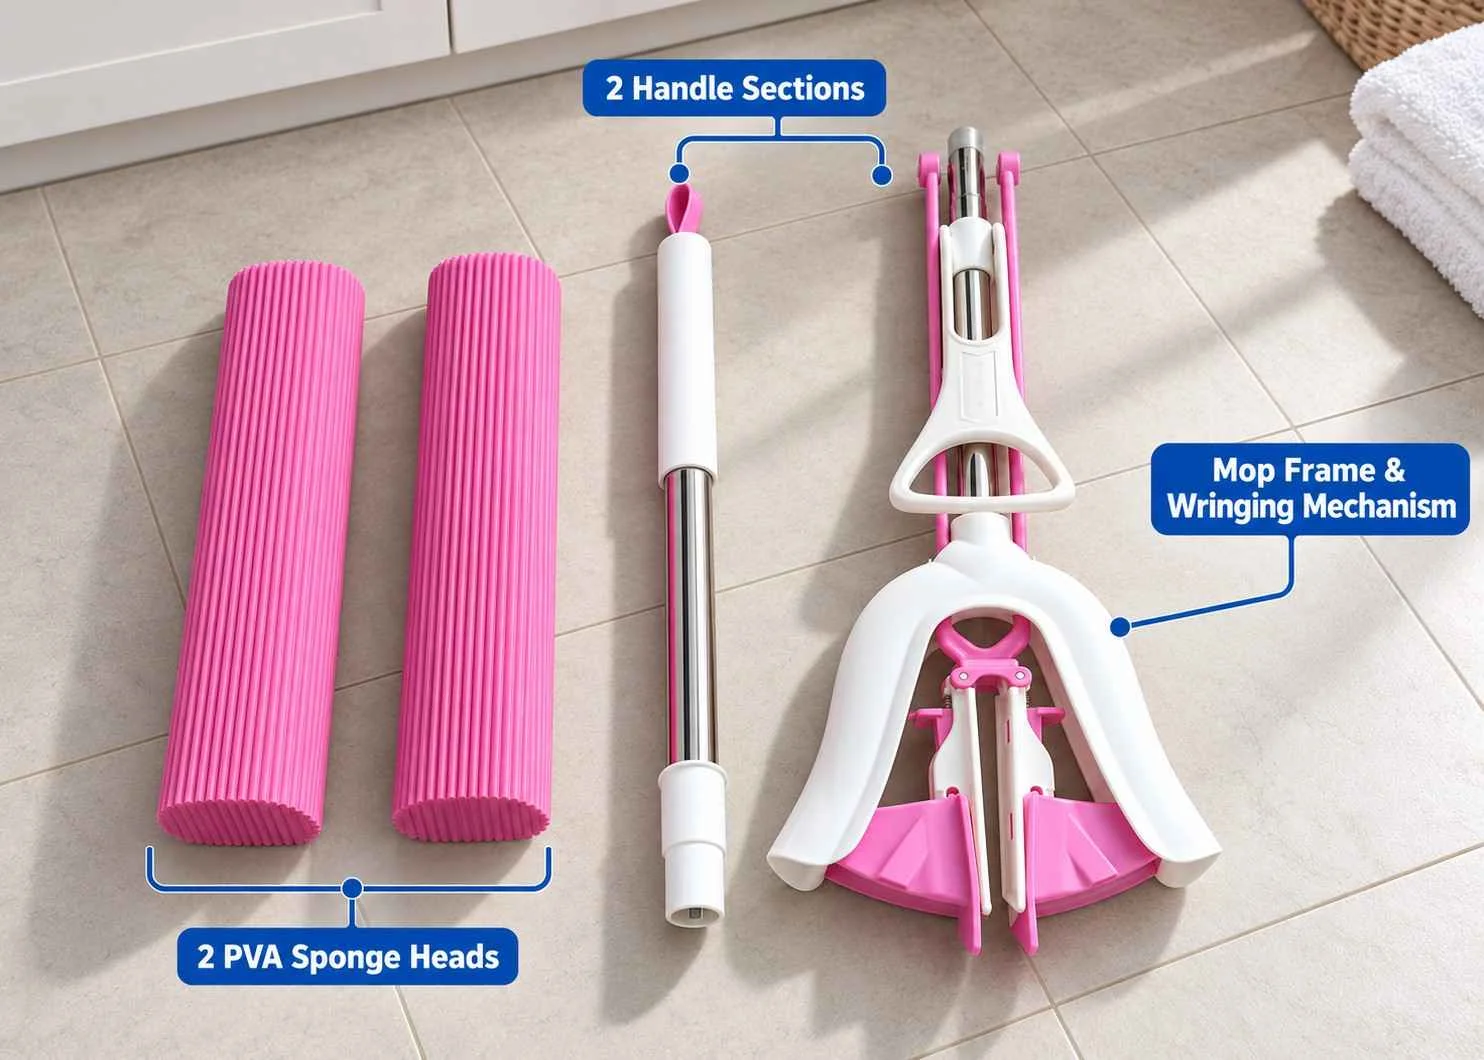
Keep on top of household spills with an absorbent PVA sponge and a handle that adjusts to your preferred reach. The ribbed head collects water as you mop, while the included spare lets you replace the sponge when needed.
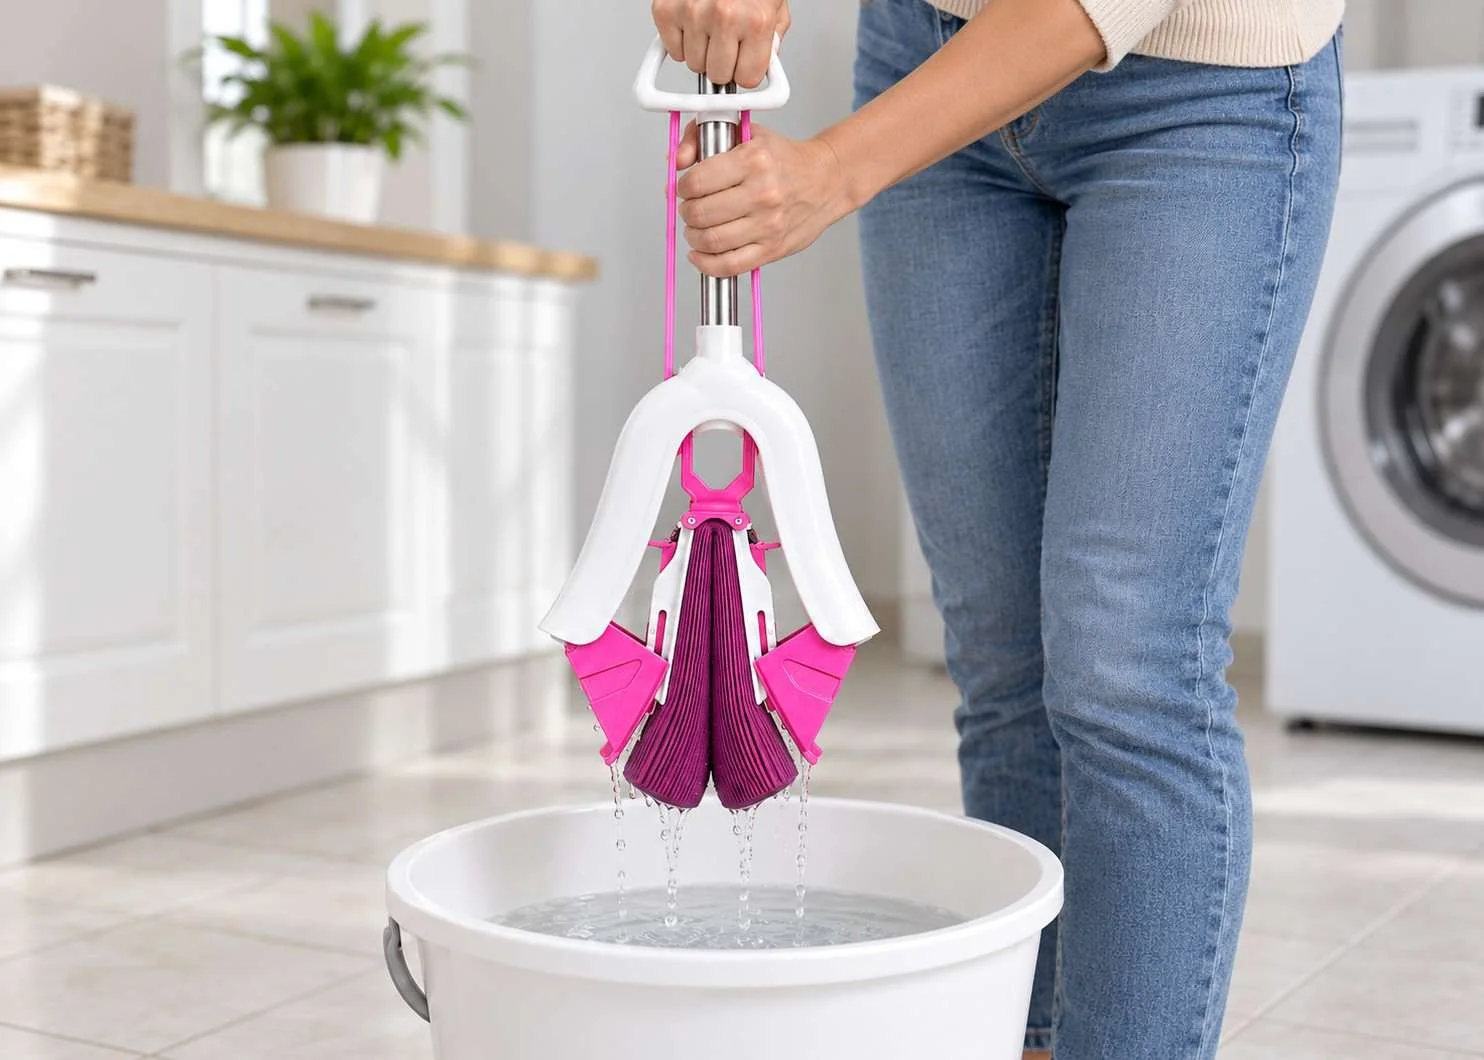
Hold the shaft steady and pull the triangular grip to compress the softened sponge over a bucket. The mechanism removes excess water without squeezing the wet head by hand. Release it back into its cleaning position before continuing.
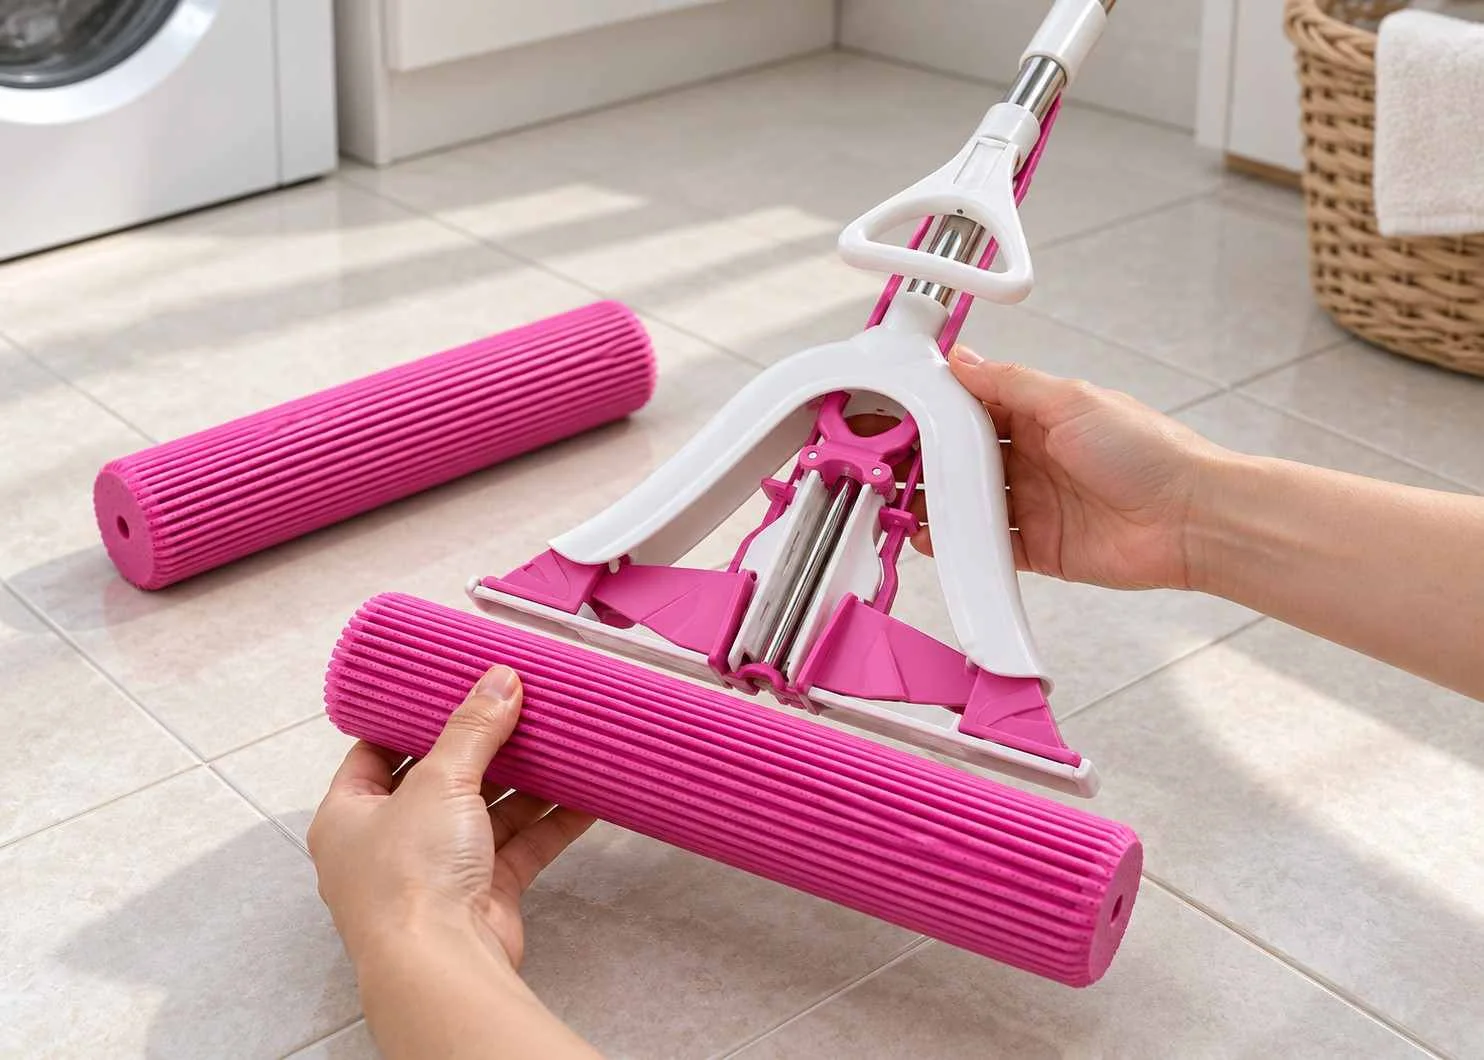
Replace the cleaning head while retaining the handle and frame. Press the release buckles to remove the sponge, then align the replacement fittings and press securely into place. The additional head is ready for a future change.
Compare the integrated wringer, adjustable reach and sponge attachment with the basic fixed-handle cotton mop shown.

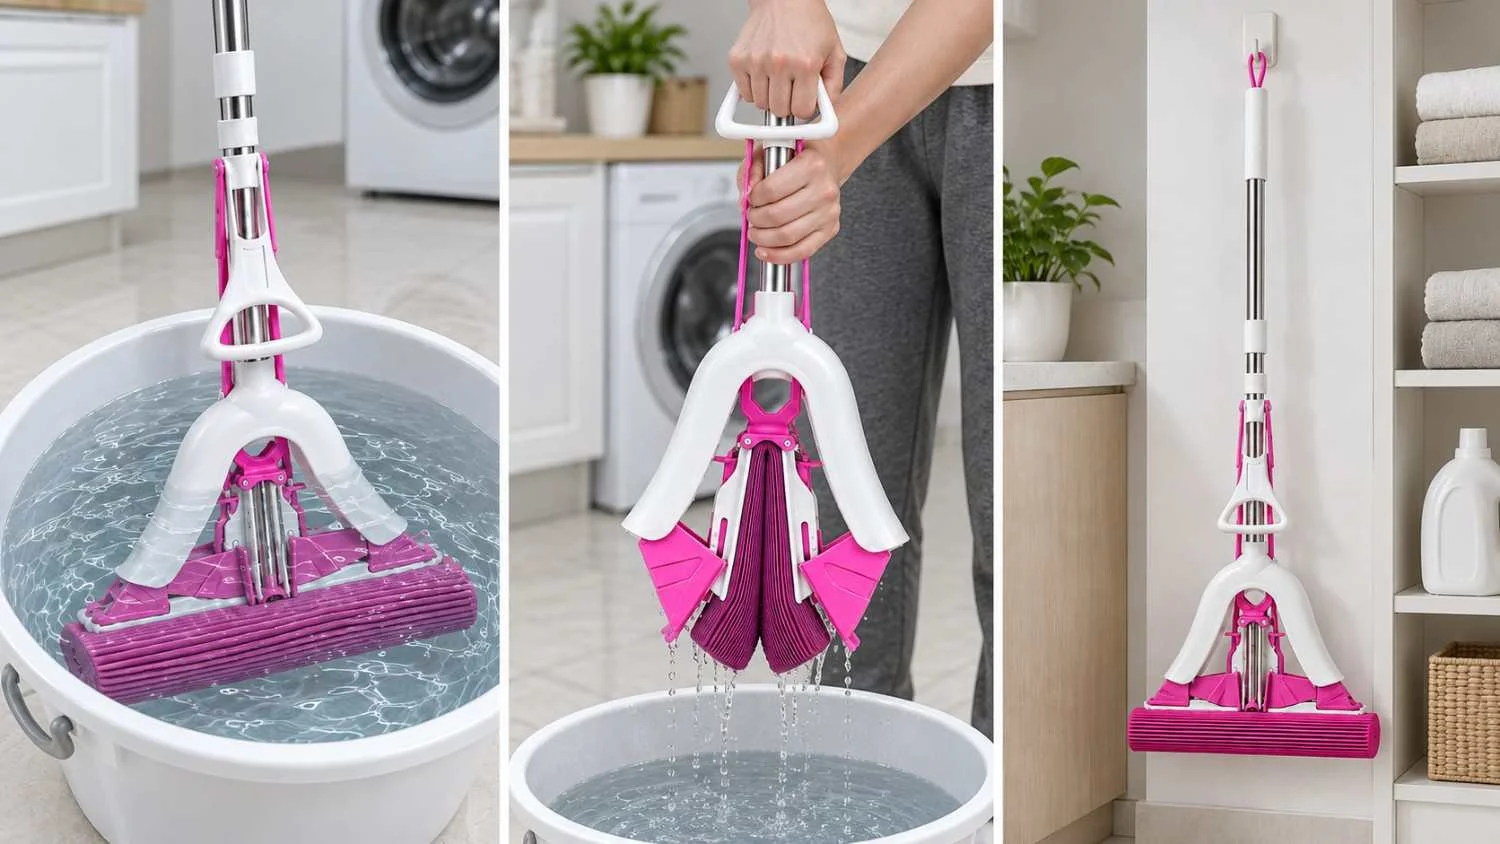
Remove protective wrapping and soak the sponge until fully softened. PVA becomes firm when dry, so soften it before cleaning or operating the wringer.
Rinse the sponge after cleaning. Hold the shaft steady and pull the wringing grip over a bucket to squeeze out excess water.
Hang the mop using its top loop, keeping the sponge clear of the floor. Store away from direct sunlight.
Two PVA sponge heads are included in total, one for use and one spare.
This is normal for PVA. Soak it until fully soft before cleaning or operating the wringer.
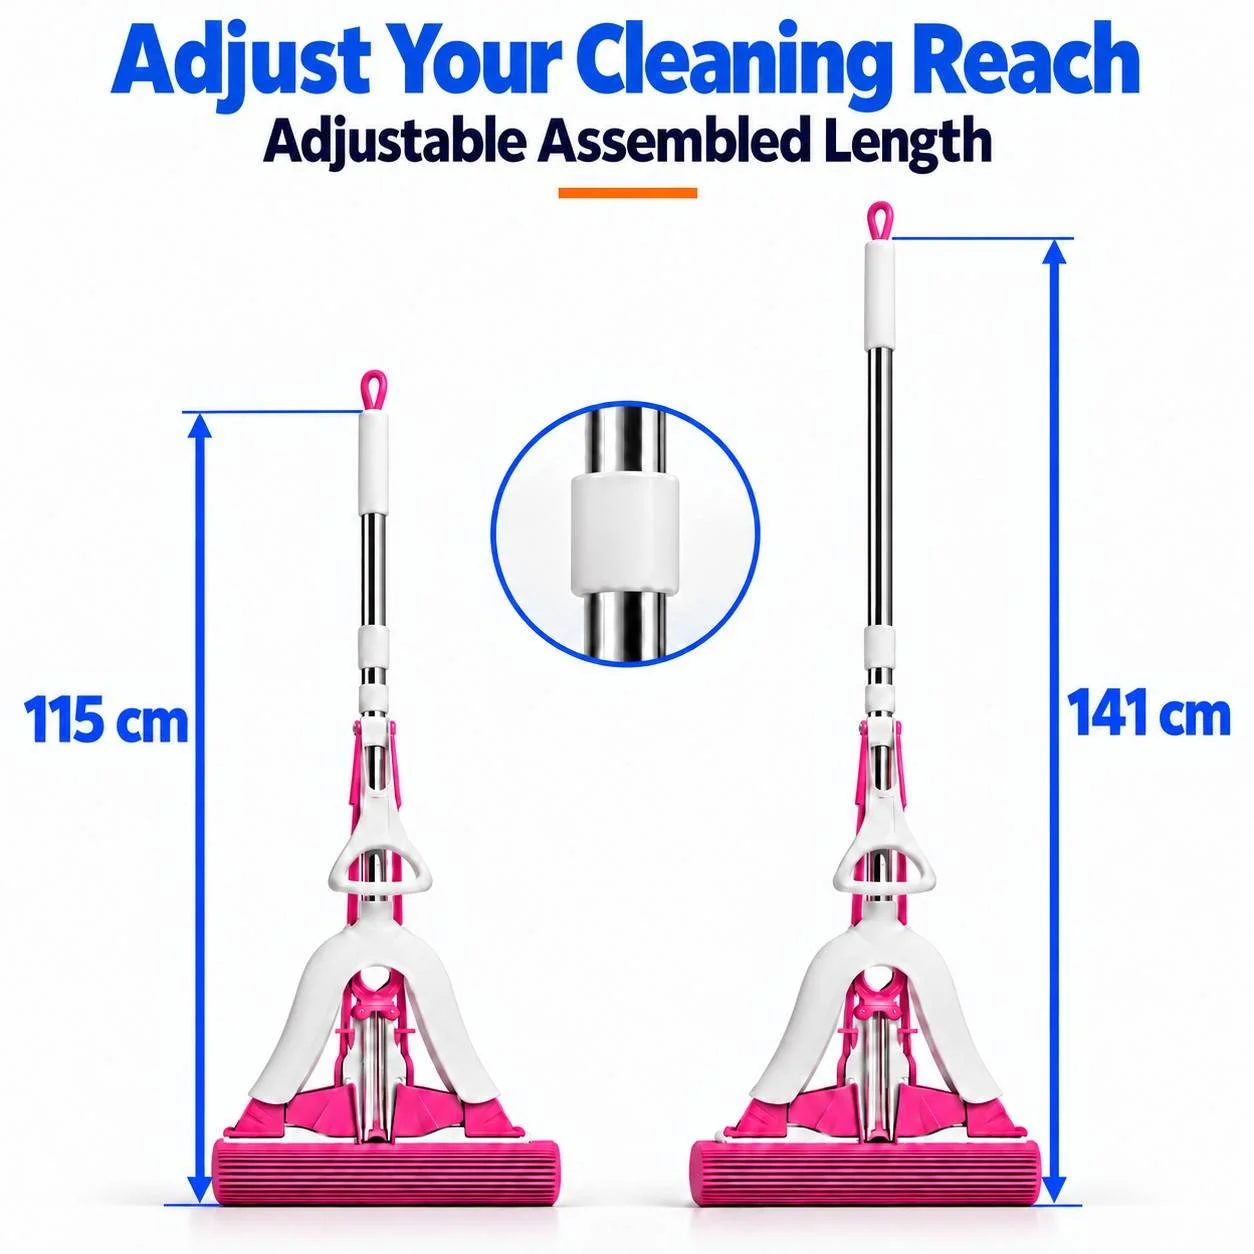
Screw the two handle sections together securely. The telescopic handle provides an assembled length of 115–141 cm.
Hold the shaft steady and pull the triangular grip to compress the softened sponge over a bucket. Return the head to its cleaning position before mopping.
The supplier recommends tiles, marble and wooden flooring. Follow your flooring manufacturer’s care instructions and wring thoroughly before cleaning sealed timber.
Normal household floor-cleaning solutions can be used according to the supplier. Follow the cleaner’s dilution instructions and check that it is suitable for your flooring.
Press the release buckles to remove the existing head. Align the replacement fittings and press securely into place.
Reviews
There are no reviews yet.